Showing posts with label Cheery Lynn Dies. Show all posts

Sunday, July 21, 2013

HOWDY BIRTHDAY! SURPRISE!

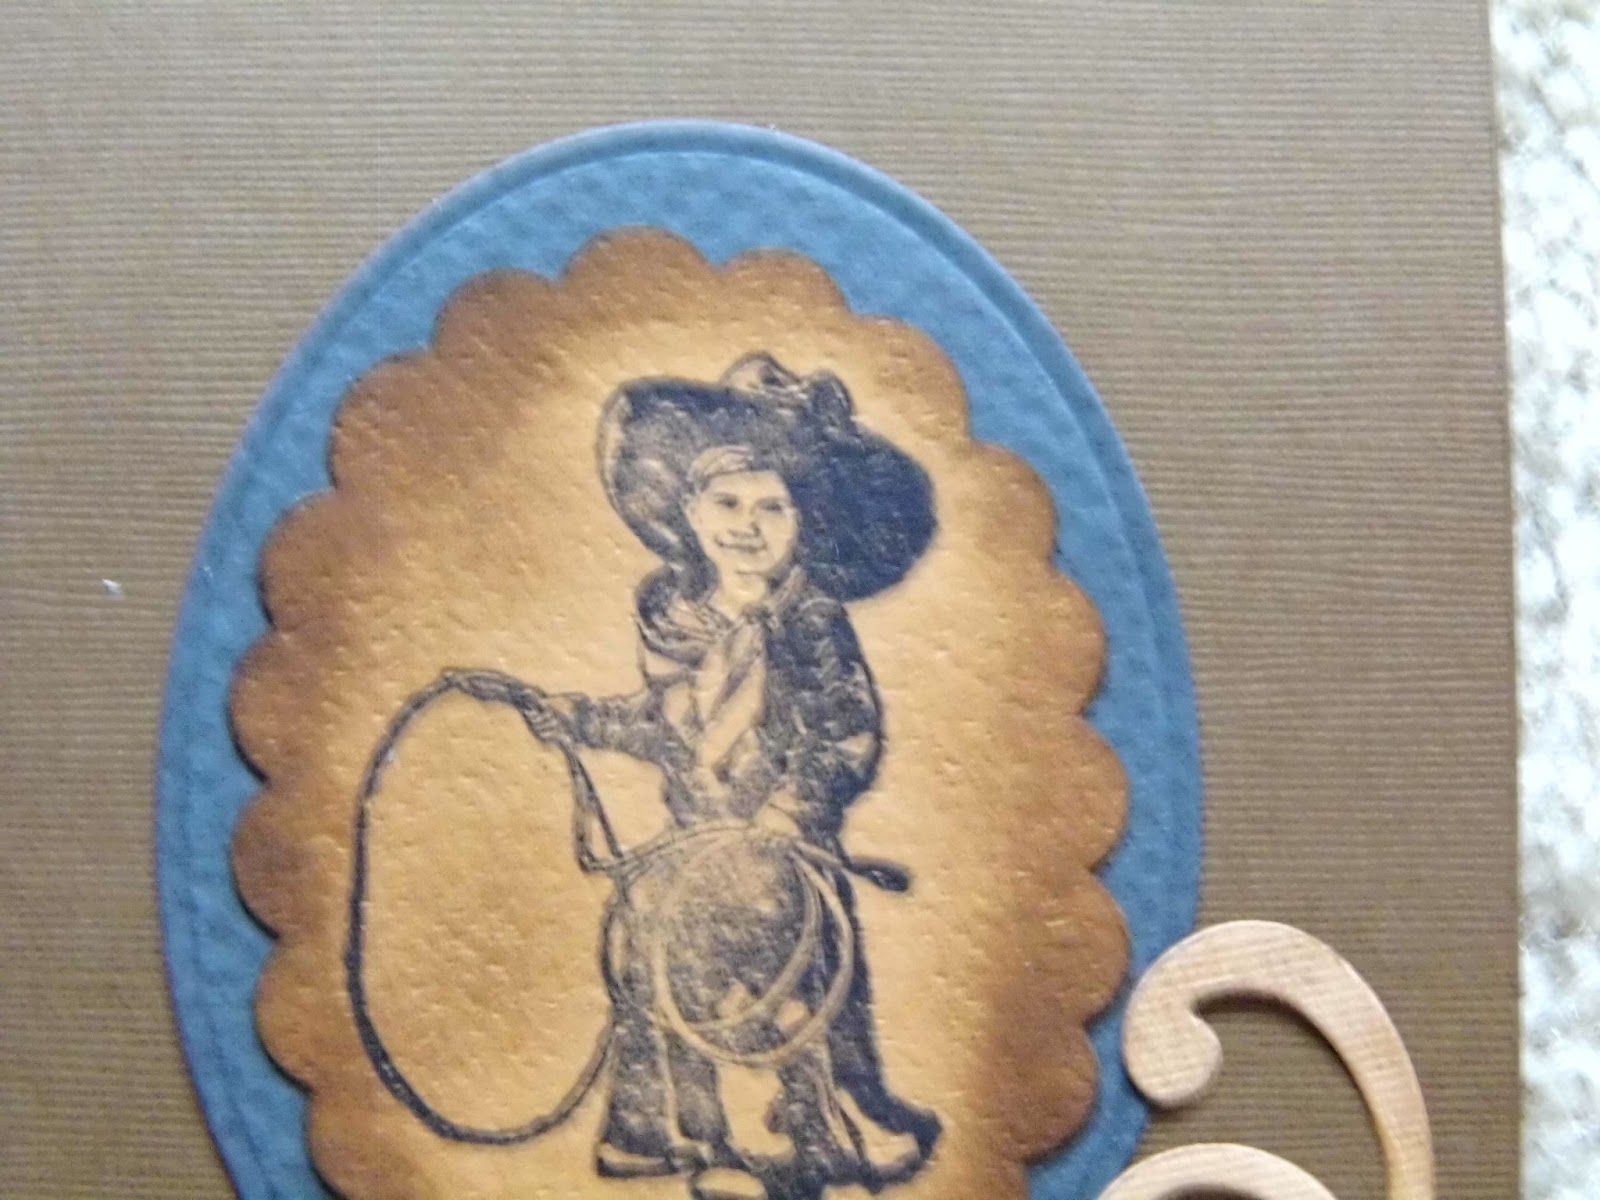
Is there a horse lover in you life?  My beautiful daughter- in-love loves to ride.  I made a birthday wish with a surprise in this card Using the new Sizzix Pop N Cut Card die.   The outside of this card is as shown above and the inside is shown below.  

It was a stormy gray sky outside when I took these pictures and it affected the colors somehow.  What shows as blue on the outside of the card is actually a steel gray.  And the card base is a coffee color.  

I also have difficulty with blurred images that I can't ever seem to correct.  Maybe I will try a tripod next time.  I would have taken these again, but I had already given the card away!!!!  So, I apologize if your eyes are going crossed looking at my pictures.


 This is what the Sizzix Pop N Cut die looks like.  It is shown with (left) and without (right) the magnetic insert.  There are other inserts that are made for this basic die.  The card below is the card opened with the outside showing.  

There are two cuts with the Pop N Cut die for this card.  The first is the length of the card that has the cut outs of the label that the horse is attached.  This becomes the inside of the card and was cut with the flowered paper.  

The second cut was of coffee brown card stock and it becomes the outside.  This was a quick and easy way to make a pop up card.  I'm pleased with this purchase and hope to add some of the additional magnetic dies that are available.


Punch and die cut ovals used for the background of the little cowpoke.

The little cowpoke vignette is framed by smudging the outside of the oval with ink and daubers as pictured.
Martha Stewart punched flowers.


EK Success punches are used for mounting the horse onto the pop up.


The sentiment is die cut with a Spellbinders die.


Heartfelt Creations has many beautiful stamps that were created to be used with Spellbinders dies.


Thursday, November 3, 2011

Butterfly Days

Butterfly Days!


I made this card on Saturday at our Stampin Chix gathering.  I know it is a little bit out of season, but I had just bought some new dies and couldn't wait to use them!  I attended the Adventures in Stamping fall convention in Strongsville Ohio last Saturday. I spent quite a bit of time at the Our Daily Bread Designs booth.   http://ourdailybreaddesigns.com/ 

Our Daily Bread Designs has been my favorite place to shop this year.  They have a large selection of beautiful scripture stamps and their gallery contains the most beautiful cards I have ever seen!  This is the place to shop if you want to give the gift of God's Word.  You will find an array of Biblical passages in beautiful fonts and beautifully illustrated stamps to accompany them.  ODBD also has stamps that frame the scriptures and are compatible with many of the Nestabilities dies.  ODBD carry Nestabilities and Cheery Lynn die cuts. 


Cheery Lynn die cuts are very intricate and beautiful.  I used them for the Butterfly Days Card.


 The vine and butterfly on this card are Cheery Lynn die cuts. 
The Cheery Lynn Fanciful Flourish vine is in the middle.
The red flowers on the card are made with Cuttlebug Quilling Rose Carnation set.  I cut them out with the Sizzix Big Kick. The center of the flower is a long strip of paper which you roll onto a quilling tool. The flower petals die cut cuts out a straight long series of petals that are connected. You cut them out and then roll them on a quilling tool around the center cut. I used Copics on red card stock to outline the edges and centers of the petals for added dimension to the flower. 
Package with Directions

Die Cuts, Quilling Tool and Stems
Stack Acrylic bottom plate, then paper, the die cut.
Place acrylic mat on top and wind through Sizzix Big Kick


Cut out Flower Center

Long strip of flower petals and center flower strip with quilling tool.


Roll the Flower Center onto the Quilling tool.

Outlined edges of petals with Copic Markers R37 and R39.

Add Color with Copics around the edges and in the center of the petals.


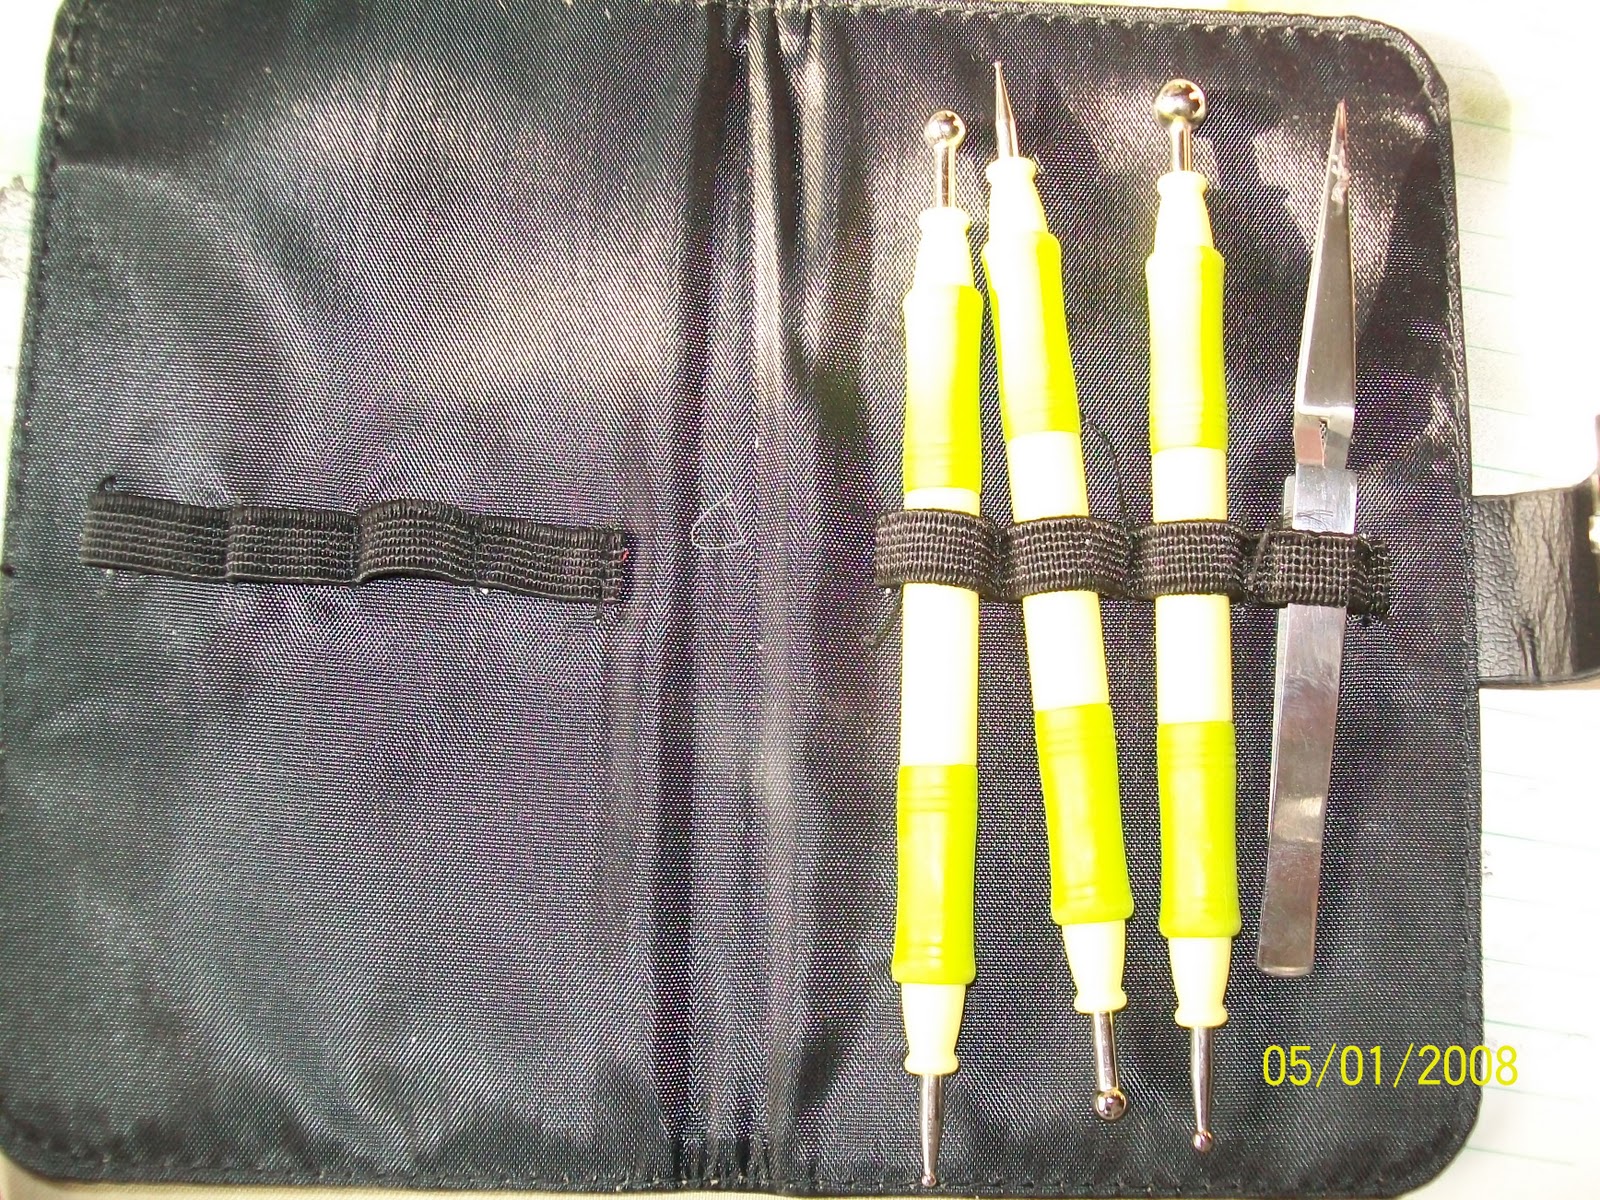
McGill Tools are for molding, pinching and curling the leaves and flower petals.  They are best used with the special foam mat that is made with just the right thickness for this task.


Using the medium size tool roll the ball in the center of the petal allowing the petal to curl.

Using the tweezers, grasp the flower petal at the center.
Pinch the petals around the tweezers.

Grab the petal and roll the sides toward the tweezers.

Fold down the edges of the petals.
Roll flower petals onto flower center, dab with a bit of glue.


Continue rolling flower petals onto petal center

Use a quick drying glue to dab a little on the edge of the final roll.
Peel the petals down from the flower.


Add leaf veins with stylus.

Glue Leaves to flower


Add Glimmer Mist

Martha Stewart Double Edge Linked Trim Punch
Paper woven through punched trim.

The border is a Martha Stewart Double Edge punch called "Linked Trim".  I added color and interest by weaving a strip of turquoise paper through it.  The die cuts are placed on a background of the swiss dot Cuttlegbug embossing folder with a turquoise mat.